Mailchimp integration in Landerlab allows you to effortlessly synchronize leads from Landerlab to Mailchimp. By doing so you can enhance your email marketing strategies and streamline lead management.
In this article, we’ll explore the steps to add a Mailchimp integration, allowing you to easily transfer leads collected from your landing pages.
How to Integrate Mailchimp?
Follow the steps below to learn more about how to integrate your Mailchimp account into your Landerlab account.
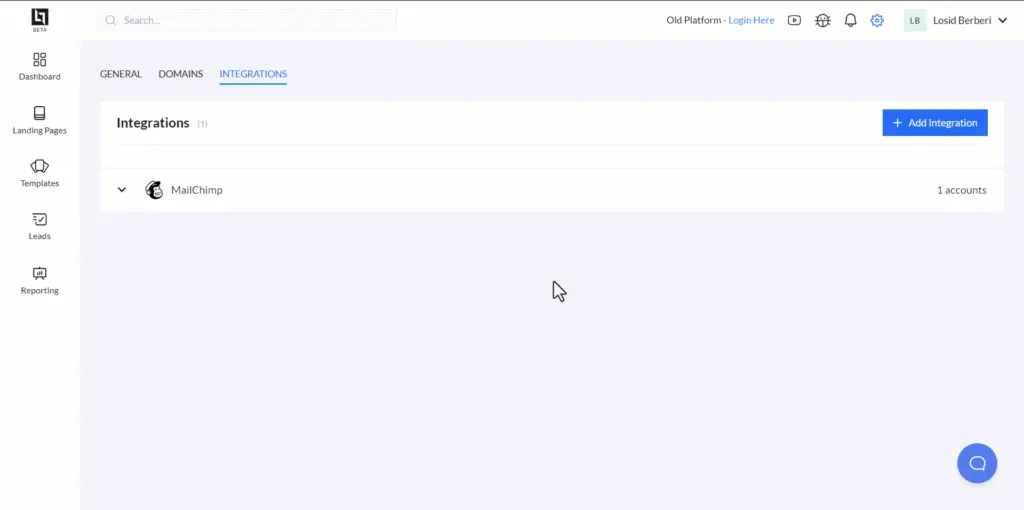
- Go to Settings, then Integrations.
- Click on Add Integration, then click Connect Mailchimp from the list of available integrations. This will redirect you to Mailchimp “Login and authorize page”
- Enter your Mailchimp username and password and to login to the “Login and authorize” page, or click Create an account in case you don’t have one.
- After logging in, click Allow to authorize Landerlab connection to your Mailchimp account. This will redirect you back to the integrations page in Landerlab.
- Optional step – Select any landing pages you want to add this integration to and you’re done.
How to Add Mailchimp Integrate to a Landing Page
Follow the steps below to add your Mailchimp integration to your landing page.
- Go to Landing Pages
- Locate and click on the landing page you want to add your Mailchimp integration to.
- Click on the Integrations tab, then click on Add Integration.
- Select one of the available Mailchimp integrations and click Connect.
- In the Mailchimp Integration page Select your Audience and click Next.
- Map your form fields with the available fields found in your Mailchimp audience, then click Next.
- Optionally Add Tags to your leads if you need to add a specific tag to any new lead that you collect.
- Click on Add Integration and you’re done.
New leads that will opt into your landing page form will be automatically added to your selected Mailchimp audience and will be tagged with any tag that you specified during the integration.